Water heaters are essential fixtures in our homes, providing the hot water necessary for daily tasks such as showering, cooking, and cleaning. However, like any appliance, they can experience issues over time, one common problem being trouble with the pilot light. Understanding the basics of water heater repair can save both time and money, preventing minor issues from becoming major expenses.
In this guide, we will explore common reasons why the pilot light of your water heater might go out, and provide step-by-step solutions for you to handle the repair process yourself. For those who are not comfortable with DIY projects, understanding these fundamentals can help you better communicate with professional repair services.
Whether you’re an experienced handyman or a complete novice, a little knowledge goes a long way in maintaining your home’s water heating system.
What Causes Pilot Light Issues?
The pilot light is a small burner that ignites the gas needed to power your water heater, and when it goes out, your water heater fails to heat water. One common cause of pilot light issues is a faulty thermocouple – a safety device that senses whether the pilot light is on and shuts off the gas if it is not. Over time, the thermocouple can become dirty, misaligned, or worn out, preventing it from functioning properly.
Drafts or strong gusts of wind in the area where your water heater is installed can also lead to the pilot light going out. Additionally, sediment buildup in the unit can obstruct the pilot light and prevent proper combustion, leading to frequent outages. Occasionally, the gas supply itself might be the issue if it is either insufficient or interrupted due to maintenance or repairs.
Understanding these causes is the first step in troubleshooting your water heater repair. By identifying the root of the problem, you can decide whether it’s a situation you can fix on your own or if you need professional assistance. Regular inspections can help catch these issues early, saving you from more expensive repairs in the future.
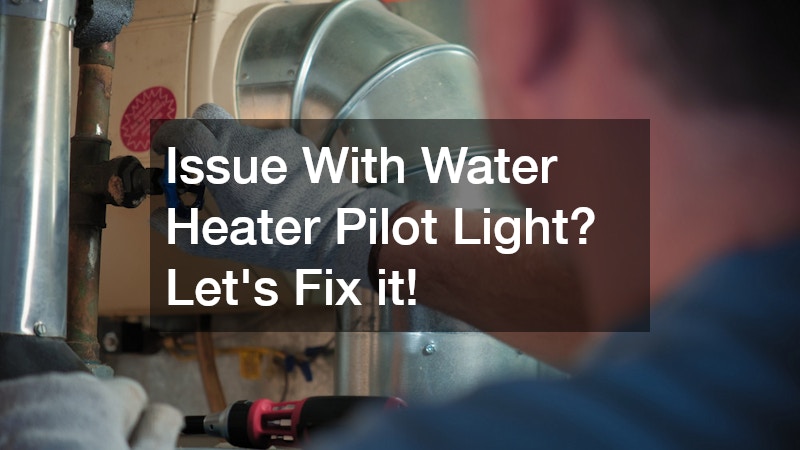
Steps to Fix Your Water Heater Pilot Light
Begin by locating the pilot light and checking for any noticeable issues, such as dirt or debris obstructing the pilot orifice. Cleaning and repositioning the thermocouple can also help resolve problems, ensuring it correctly senses the heat from the light. A gentle cleaning with a brush or a can of compressed air might do the trick, removing any accumulated grime.
If there’s a strong draft, ensure the area around your water heater is free from excessive airflow which could be blowing out the pilot light. Adjusting or replacing the thermocouple may be necessary if cleaning does not resolve the issue. Make sure the gas valve is fully open and that the gas supply is consistent to avoid minor interruptions.
Once the area is cleaned and necessary adjustments are made, follow the manufacturer’s instructions to relight the pilot. This often involves holding the pilot button down while using a match or lighter to ignite the flame. Hold the button down for 30-60 seconds once the flame is lit to ensure it stays on, allowing the thermocouple to heat up and recognize the flame presence.
When to Call a Professional
While some pilot light problems can be resolved with DIY methods, there are times when it’s best to consult a professional. If you’ve followed the troubleshooting steps and still experience issues, or if you smell gas near the unit, contacting a qualified technician is crucial. Professionals possess the expertise and tools necessary to address more complex issues and ensure your safety.
Regular maintenance check-ups by certified repair services are advisable to maintain your water heater’s efficiency and prolong its lifespan. Technicians can identify and rectify deeper issues that might not be apparent to untrained eyes, preventing future breakdowns. Additionally, if your water heater is an older model, it might be worthwhile to discuss potential upgrades with your service provider.
Ultimately, knowing when to step back and let an expert handle the situation is a key aspect of effective water heater repair. Timely professional intervention not only guarantees repaired functionality but also enhances safety, ensuring your home remains a comfortable environment. Taking proactive steps with professional aid leads to less stress and more consistent access to hot water throughout your home.
Dealing with a malfunctioning water heater due to pilot light issues can be frustrating, but with the right knowledge, many solutions are within reach. By understanding common causes and following appropriate troubleshooting steps, most homeowners can restore their water heater’s functionality. Remember that while some repairs can be accomplished independently, professional assistance is invaluable for ensuring the safety and efficiency of your home appliances.
Investing time in learning about water heater repair empowers you to tackle minor issues confidently, while informed decisions regarding professional services can optimize performance and longevity. Regular maintenance, coupled with prompt attention to emerging problems, forms the cornerstone of effective household appliance management. Keep this guide handy as a resource whenever you encounter issues with your water heater’s pilot light.
With the practice of careful inspection and timely intervention, you’ll find “water heater repair” transforming from an intimidating task to a manageable part of home maintenance. Ensuring your water heater operates smoothly not only contributes to comfort and convenience in your daily life but also protects your investment into this crucial household system. As always, safety first—if in doubt, consult a professional to resolve complex issues expertly.